
Have multiple areas either for online or internal use.
With more than one online area, they guests will have the option to book in one or another.
Create or manage
To add or edit an area, go to “Capacity”, and then “Areas”

To add a new area, click Actions -> Add area
To edit an area, just click on the area you want to edit.

Details
- Area Name
Name the area - Description
Give the area a short description, so guests can see the difference booking the areas.
The description will be shown in the online booking calendar. - Area Priority
Give the area a priority. The area with the highest number will be shown above the other areas. - Online Availability
Set if the area should be online or offline - Status
Set the status of the area. Current is active and live. Hide it the area, if it only should be availble for event bookings.
Delete the area, if its no longer needed.

Two features to help you elevate your online booking experience and streamline your space management:
Add Picture to the Area
You can now upload images for your booking areas, giving your guests a visual representation of the space. This enhancement allows you to showcase the ambiance and appeal of each area, helping you attract more attention from potential guests.
In the area edit section, scroll down to Pictures, and either select an existing image or upload a new one. Then, scroll to the bottom and click Save.

The image will now appear in the Online Booking view, helping guests visually distinguish between different areas.

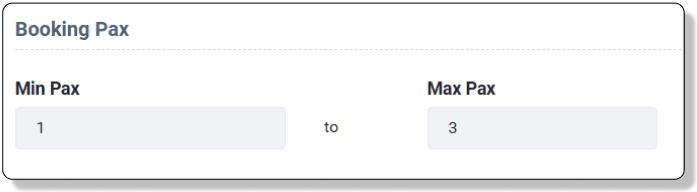
Set Pax Limits for Booking Areas
You now have the option to set specific maximum group sizes (pax limits) for each booking area. For instance, if an area’s pax limit is set to 3 and a guest attempts to book for 4 people, the area will be automatically greyed out and unavailable for selection. This feature helps you control seating capacity and guide guests away from unavailable areas while still displaying them for future consideration.
In the area edit section, scroll down to Booking Pax, and set the minimum and maximum pax for the area. Then, scroll to the bottom and click Save.
The pax limit will now be applied in the Online Booking view, guiding guests who try to book for e.g. 4 people to suitable areas while still displaying unavailable options for future reference.
