
Perhaps you want to show a nice photo from your restaurant, give specific information before they come or remind the guest that they have a magnificent gourmet experience awaiting.
Things that can help ensure that the guest gets a whole experience that is completely in line with your restaurant.
Here’s what you can do:
Make your emails personal
Immediately after a booking, your guest will receive a confirmation email with info about the time, and here you can choose to add your own text or logo/photo from the restaurant.
How to do it:
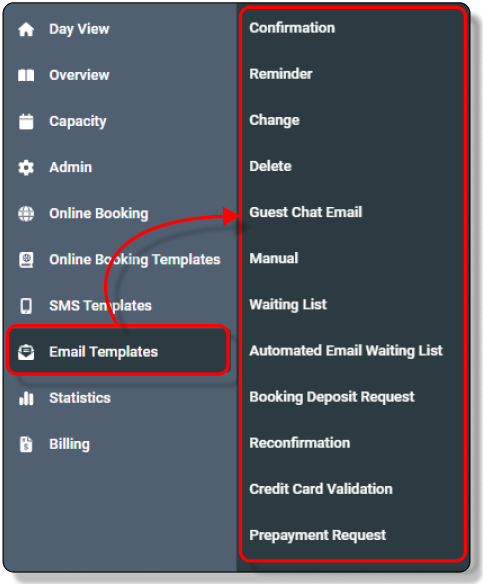
Log in to dinnerbooking.com and go to the Administration tab (see photo)
Select “Email Templates” and select the template you want to edit
Now you can easily change text and add a photo.
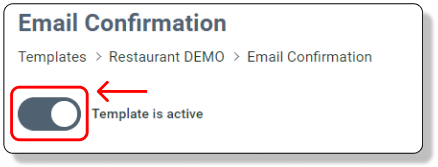
Activate a template
You can choose which templates should be active.
To activate/deactivate a template, simply slide the controller at the top of the page
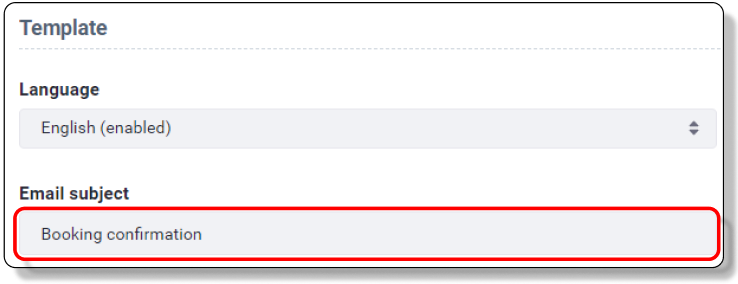
Email subject
First of all select the language of the template.
The template can be sent out in the languages you have enabled for the online booking.
Once the language is chosen you can edit the subject under Email subject
Change the email template
Under Message you have the template of the email the guest receive.
You can write directly in the template, if you want to add or edit something.
Note: Be careful not to change the text between hashtags, as it is an auto generated text.
Above the template is the function ribbon. Use this to make the text Bold, change the font etc.
Functions in the Ribbon
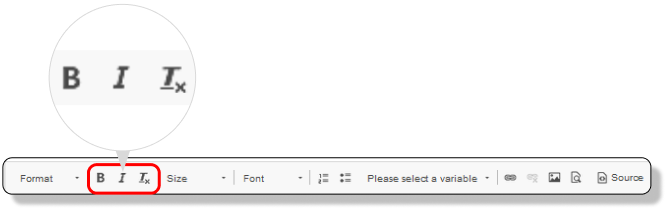
Make the text Bold, Italic or remove formats
For bold text, click the B
For italic text, click the I
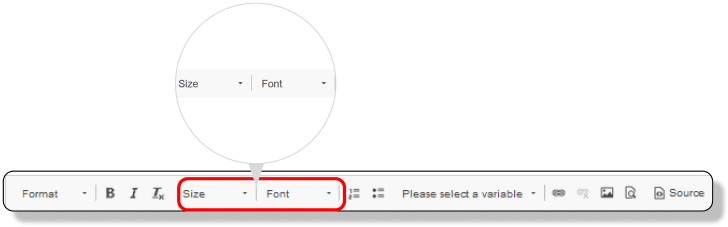
Use these to change the size of the font and the font type.
Note the fonts are limited to the fonts the most common email clients reads.
Use of other fonts may result in the guest receiving another layout than intended
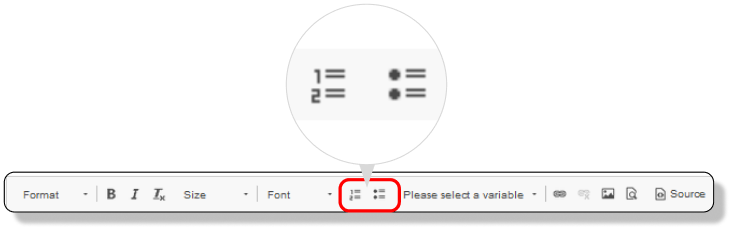
Create a bulleted or numbered list
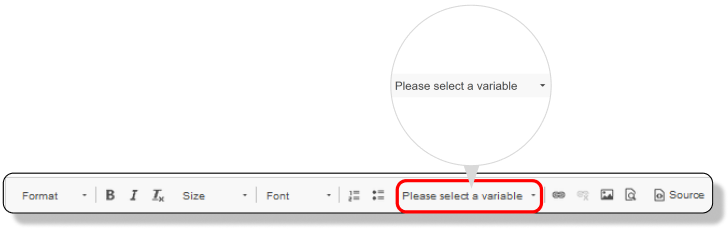
Insert dynamic data (the hashtag codes)
Read the description of the codes HERE
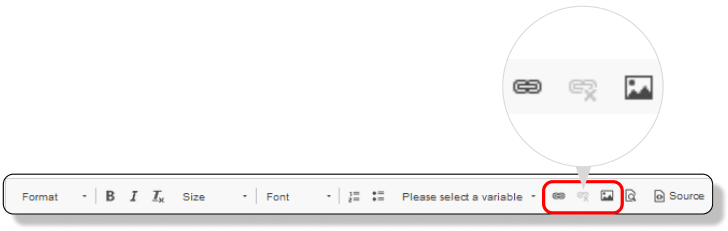
Add links or pictures to your template.
Links to websites, emails or phone numbers can be added here.
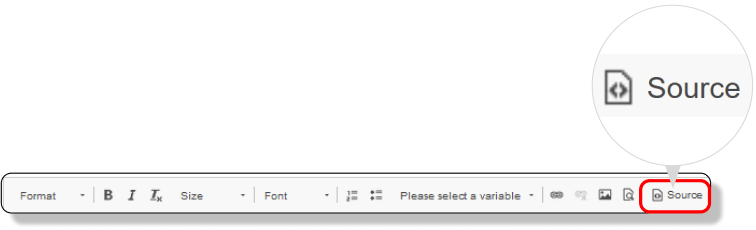
An option to change the HTML code or insert your own
Advanced
HTML Emails: A Quick Guide
Creating HTML emails is different from designing web pages. Email clients (like Outlook, Gmail, and Apple Mail) handle HTML differently, so you need to follow best practices to ensure your emails look good everywhere.
Use Tables for Layout
- Forget divs and CSS flex/grid—use
<table>for structure. - Nested tables help with complex layouts.
- Set widths in pixels for better control.
Inline CSS is King
- Many email clients ignore
<style>in the<head>. - Apply styles directly in the element:
<td style="color: red;">Text</td>. - Use basic CSS (avoid advanced properties like flexbox).
Keep It Simple
- Stick to basic HTML (no JavaScript or external fonts).
- Use system fonts (Arial, Verdana, Times New Roman).
- Avoid background images; use solid colors instead.
Make It Mobile-Friendly
- Use a maximum width of 600px for emails.
- Set images to
max-width: 100%; height: auto;. - Use larger font sizes (at least 14px for body text).
Test
- Emails look different in Gmail, Outlook, and Apple Mail, but also on desktop and phones.
- Try sending yourself a test mail, and see how it looks on desktop and phone
Include a Clear Call to Action (CTA)
- Use buttons instead of plain text links.
- Make CTAs big, bold, and easy to click.
- Example Cancel button:
<tr>
    <td align="center" style="padding: 20px;">
        <table border="0" cellspacing="0" cellpadding="0">
            <tr>
                <td align="center" bgcolor="#A61945" style="border-radius: 5px;">
                    <a href="#CANCEL_LINK#" target="_blank" style="display: inline-block; font-family: Arial, sans-serif; font-size: 16px; font-weight: bold; color: #FFFFFF; text-decoration: none; background-color: #A61945; padding: 12px 24px; border-radius: 5px;">
                        Cancel Booking
                    </a>
                </td>
            </tr>
        </table>
    </td>
</tr>
Changing Colors
Colors in the template are defined using hex codes (e.g., #A61945 for the red border). You can modify these:
- Background Color: Change
bgcolor="#DEE0E2"to a different hex code to modify the background. - Header Bar Color: Change
border-top: 10px solid #A61945;in the<td>inside the header table. - Footer Bar Color: Modify
border-top: 3px solid #A61945;andborder-bottom: 3px solid #A61945;in the footer<td>. - Button Color: Change
bgcolor="#A61945"andbackground-color: #A61945;in the button styles.